 |
 |
|||||||||||
| Once you have good images the composing can be done with Photoshop. For the steps that this calls for, you will need to be familiar with using layers, layer masks, brushes, the eraser tool the magic wand and saving in different formats.
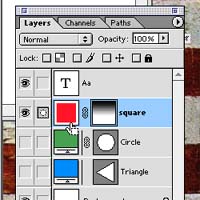
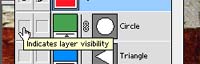
Using layers. Download the file demo.psd to experiment with. Make sure that you have the layer window on. You will see a series of layers in this window. By dragging one layer on top of another, you can change which layer is on top of the composition. By clicking on the eye at the left of a layer you can change the visibility of a layer. By changing the visibility of the triangle and circle layers, one can show just the text and the square. That nice fade in the last image is done by adding a layer mask to the square layer and adding a gradient to the mask. Areas that are black will be transparent. Gradients work, a paintbrush will show the transparency, anything that is black should work. Try a few things. |
||||||||||||
 |
||||||||||||
 |
 |
|||||||||||
 |
 |
|||||||||||
 |
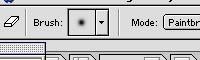 |
Eraser tool. While not as precise as the magic wand, the eraser tool sometimes has its advantages. It can be faster when trying to clear large areas. The eraser is controlled by choosing a brush. Erasing makes transparent places in a layer. The image shows a the green circle with the red square on top. The red square has been partially erased. | ||||||||||
 |
||||||||||||
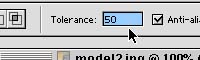
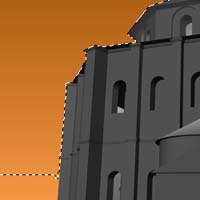
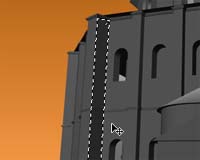
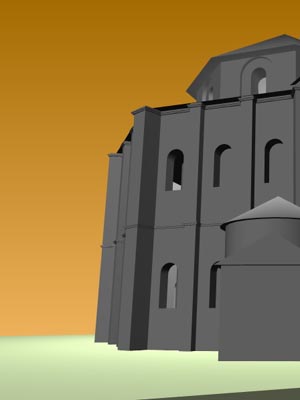
| The magic wand. To test out the wand, download the file model.jpg. Select the magic wand tool and use it to select the background. The options for the magic wand allow you to change the tolerances. Try selecting the orange background with 5 tolerance and then again with 50 tolerance to get an understanding of what that means. In selecting parts of a complex image, you will have to switch the tolerances back and forth to get what you want. Use the magic wand to select panels of the building. Depending on which panel you want, you will have to adjust your tolerance. A tip on selections: holding down shift as you select allows you to add to something already selected and holding down option as you select lets you subtract from the selection. | ||||||||||||
 |
 |
|||||||||||
 |
||||||||||||
 |
||||||||||||
 |
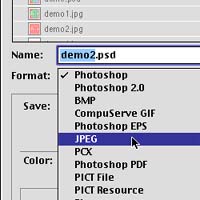 |
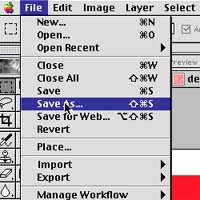
Saving as a jpeg. Once you have a file with a number of layers, you can only preserve those layers by saving it as a Photoshop document (.psd). For the sake of printing and web pages, it is best to save a copy as a jpeg (.jpg) Under file, save as...' make sure you change the file format to Jpeg. The resulting Jpeg only has one layer and can't be edited with respect to layers. | ||||||||||