Objectives:
Photographic analogy: Lights, Camera, Action!
Artificial Stage sets rather than accurate portrayals
A. Light rays hitting our eyes allow us to see objects reflecting or radiating light.
Shade: non-lit surface
Shadows: Projected darkness
Examples from Lachmi Khemlani's book:
C. Using Lighting
D. Rendering Settings
From the geometry of a 3D model we can extract all the traditional architectural projections.
Each 2D view reveals and conceals: distortion of angle, dimension or visual relationship must occur.
A. Parallel projections:
Foreshortening occurs on all tilted planes.
B. Oblique projections hold either the elevation or the plan constant while lines in depth are taken at an angle. Projection lines are parallel but not perpendicular to the picture plane.
C. Perspective projections are created by projection rays from the subject converging to the viewers' eye.
Converging diagonals provide a focus for the picture
D. Eye height determines the viewer's relationship to the subject.
E. Depth of field (inverse to the size of the cone of vision) determines
As the depth of field goes to infinity, the projection rays become closer to parallel and the picture goes towards an orthogonal or axonometric projection.
F. Slight changes in eyepoint, target point, depth of field and cropping can completely alter the composition of a picture.
Cropping focuses the viewers attention. Tight cropping provides the viewer with little context. (Sheeler & Piranesi use tight cropping to exaggerate the dynamic tension of juxtaposed geometry).
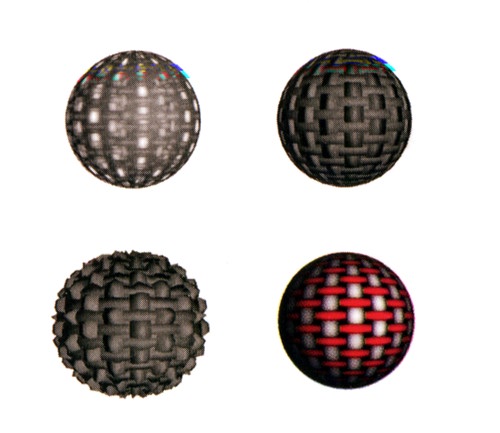
A. Material attributes = Surface qualities
C. Alpha Channel: greyscale or black and white stencil
D. Decals w/ backgrounds (Centered Texture)
3D Animation Workshop by Rob Polevoi (see lessons 17-21 on rendering & lessons 54/55 on texture mapping)
| intro | schedule | gallery | books | home |
edited Jan31, 2000 by nywcheng