Shadows from Alpha in Blender
This is not a "Beginner's guide" to Blender.
- Remove the default cube: in edit mode with the cube selected, press x→"All"
-
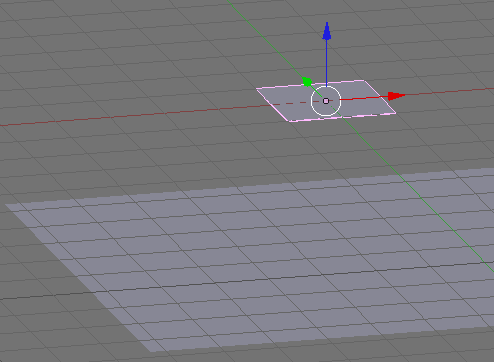
Add two planes, one large and one small, offset from each other similar to this picture:

select the top plane. -
We'll add an image with transparency as the material for this plane:

Here I choose the name of the material that originally belonged to the cube we deleted. - The image is loaded from the disk. This is specified in the textures pane of the materials button:

- I already have an image prepared, named
bowtransp.png.. The file dialog opens when we press the LOAD button:

-
The button UseAlpha should be activated:

Where the preview shows a black background, the image actually is transparent. We want transparent regions to show up as such. -
To achieve this, return to the Materials buttons

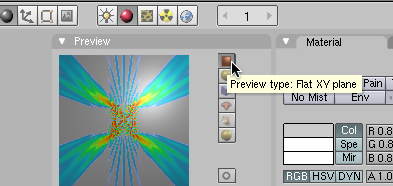
and select the planar preview geometry. Then enable Ray Transparency in the Mirror Transp tab:

-
The alpha value seen by the rays isn't affected by the image alpha yet. To do this, select the Map To tab on the right and click Alpha:

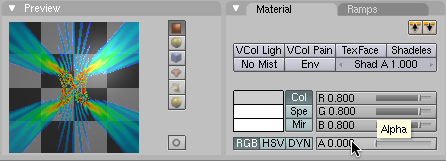
The preview image has changed to a black background, although it should just show the gray of the plane on which it's sitting. Never mind that, it worked in the end. - The image transparency won't show up unless we also make the surface of the plane transparent:

Here I pushed the Alpha slider all the way to zero. -
Now in order for this transparent bowtie to cast the correct shadow onto the larger plane underneath it, select that plane and go to its Materials buttons. Under Shaders enable TraShad:

-
Now we're ready to render:

Jens Nöckel Last modified: Thu Aug 26 23:57:21 PDT 2010