 |
|||||||||||||||||||
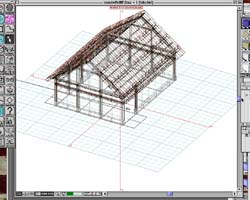
| This is the step by step version of taking form Z images. This will take you from a form Z model to a Jpeg image that matches the light and perspective of your photo. To begin, open your completed model. | |||||||||||||||||||
 |
|||||||||||||||||||
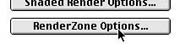
| To get the final rendering looking good, we will use renderzone. To make sure renderzone is set to your standards, open and adjust the renderzone options. (Display>>Display options, then click on renderzone options). | |||||||||||||||||||
 |
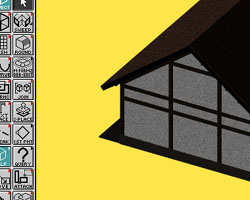
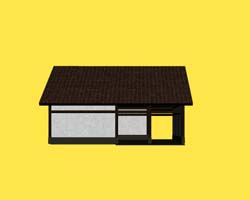
For this we want a plain color or no background. You want shadows, unless you had a cloudy sky (perfectly diffused light) or a night scene. In order to get a background that is easy to separate from the model we will change the background under project colors. (Options>>Project colors, then click on the color next to background color.) Change the background color to one that will contrast with the model. I changed mine to yellow, since there is no yellow on my model. | ||||||||||||||||||
| Making Views with Edit Cone of Vision. | |||||||||||||||||||
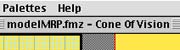 |
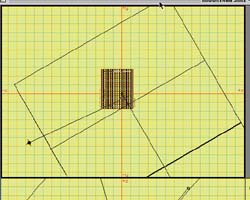
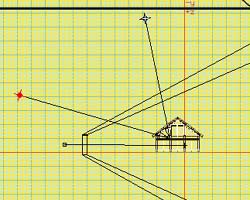
To get the appropriate view of the model we will open cone of vision from the View menu (VIew>>Edit cone of vision) Four windows will appear. The upper right is an approximation of what the view will look like when rendered. The upper left is a top view and the two below are front and side elevations. | ||||||||||||||||||
 |
 |
||||||||||||||||||
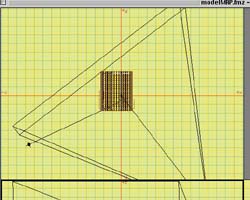
| The view above consists of a large rectangular solid. This is the axonometric view. | We want the perspective view above. The cone like solid shows us that its in perspective. To change this, click on the menu bar next to cone of vision. A menu will appear and it will let you switch to a perspective view. | ||||||||||||||||||
 |
 |
||||||||||||||||||
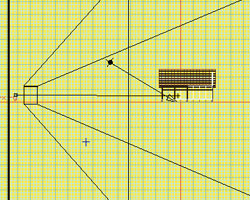
| If the cone solid that represents the view shows the width of that view, then the line at the center of the solid shows a persons line of site. A circle on one end represents the eye of the viewer. The plus on the other end is the place the eye is directed toward. To approximate the perspective in a normal site photo, put the eye the point of view about 5 feet off the ground. (Similar to what is shown above.) | Exit the cone of vision by clicking in the upper left corner of the window. The view you have composed will come up in the modeling window. Render it to see if this view works. You may wind up going through the Edit cone of vision process several times to get just what you want. | ||||||||||||||||||
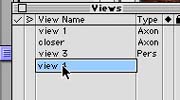 |
When you have the view you want, save that view by clicking in the open space in the views palette. It also lets you name your views for easy reference. | ||||||||||||||||||
| Adjusting the Lights. | |||||||||||||||||||
 |
 |
||||||||||||||||||
| Matching the lighting of your site photos is pretty essential if you want the model to look like its a part of the site.
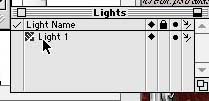
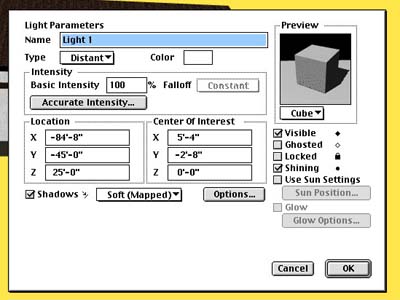
It is possible to change the properties of a light by double clicking on the icon next to that light. This will give you a dialogue like the one on the left. |
|||||||||||||||||||
 |
 |
||||||||||||||||||
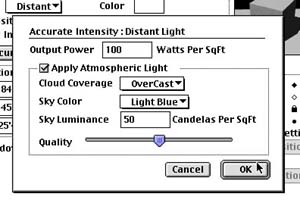
| This is the dialogue that you get with the accurate intensity button in the light parameters. With this, the light will simulate the type of sky that you want. | Using the cone of vision you can not only move the view, but lights can also be moved. The arrow represents the direction of the light and the dot is the light itself. Once again, you may have to render the model and change the lighting a few times before you get the effects you want. | ||||||||||||||||||
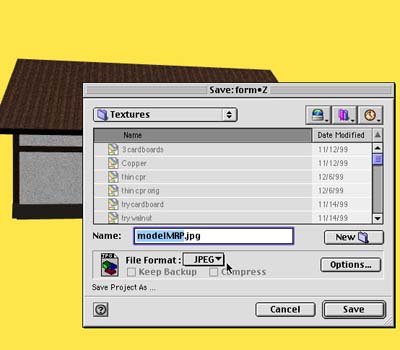 |
Almost done, the last step is to save the rendered model as a Jpeg. From the file menu select save as.... Change the file format to Jpeg and save it where you want the file to go. Its now ready to be dropped into a photoshop file. | ||||||||||||||||||